

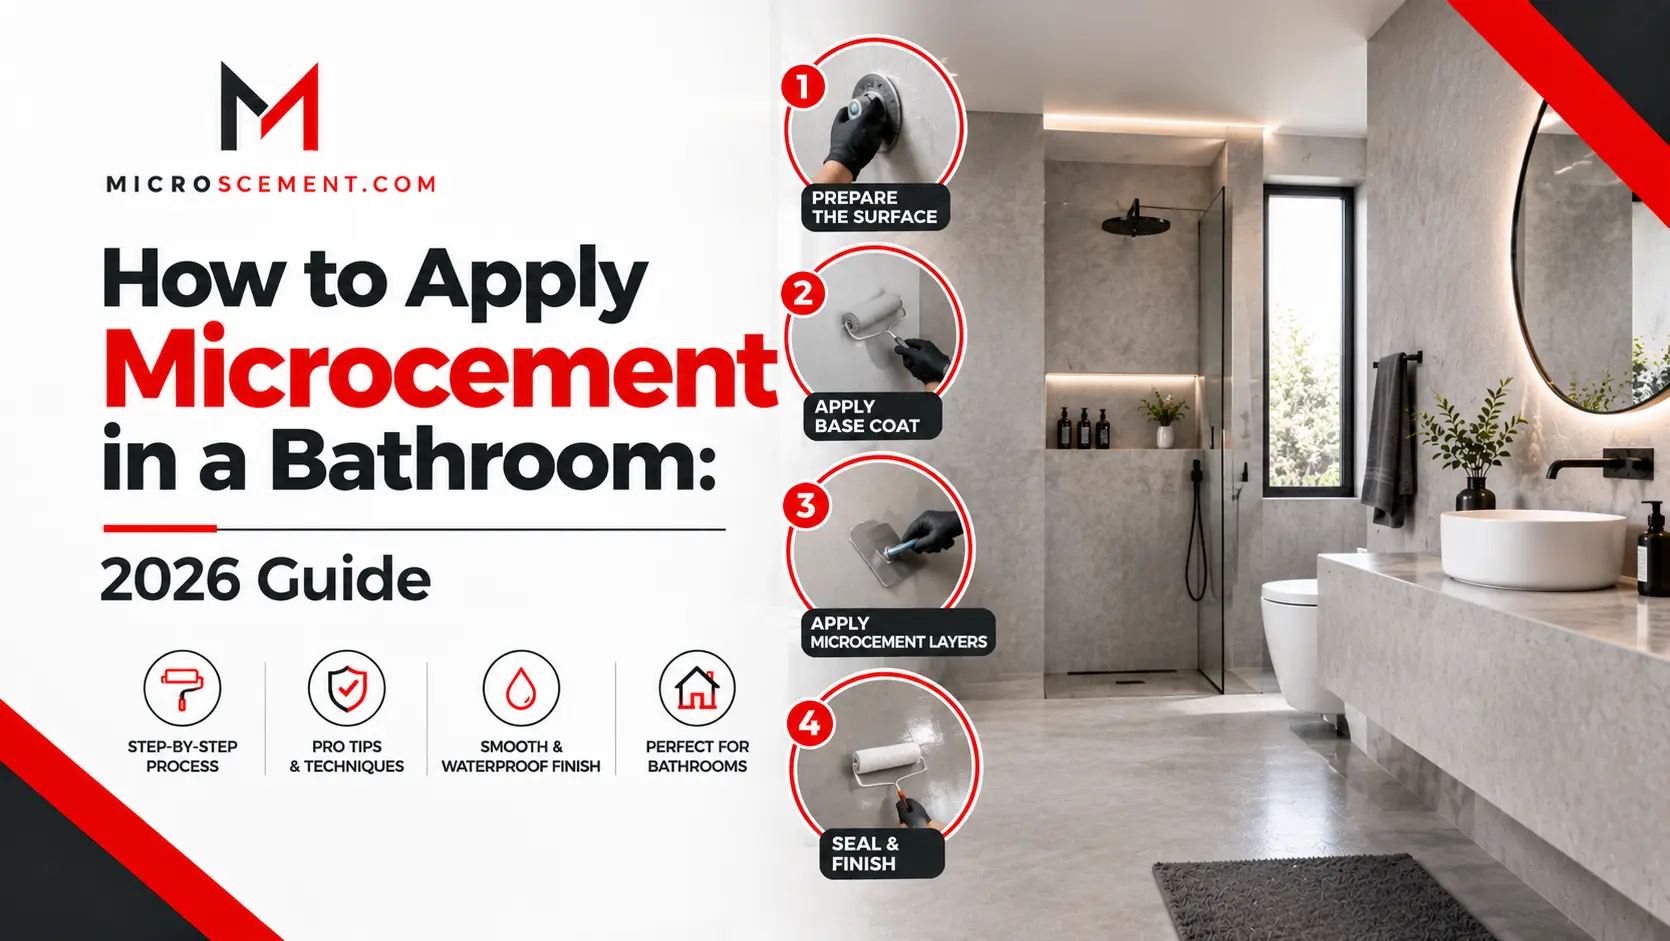
Applying microcement in a bathroom takes five main stages: prepping the surface, priming, adding a base coat, adding a second coat, and sealing. Each stage needs proper drying time, so a full bathroom usually takes three to five days from start to finish. This guide walks through each step, the tools involved, and where homeowners commonly go wrong.
By the end, you will know exactly what a microcement bathroom installation involves, whether you plan to hire a contractor or attempt part of it yourself.
What You Need Before Starting
A microcement bathroom project needs a stable surface, the right tools, and a plan for your floor plan and fixtures before any coating goes on.
Before work begins, check your current bathroom floor and walls for damage. Loose tiles, cracked grout, or soft drywall all need repair first, since microcement bonds to what is underneath it, not the tile itself.
You will also need to plan around plumbing fixtures, bathroom vanities, and lighting fixtures. Some fixtures may need to come off the wall or floor temporarily during application. At microscement, we walk Dallas homeowners through this prep list before any project starts.
If you’re new to the material itself, our what is microcement guide explains what it’s made of and how it behaves before you start prepping your bathroom.
Step-by-Step: How to Apply Microcement in a Bathroom
Applying microcement in a bathroom follows the same five-stage process every time: clean and prep, prime, apply the base coat, apply the second coat, then seal.
- Clean and sand the surface. Remove dust, grease, and loose material from the floor tiles or walls. Light sanding helps the primer grip the surface.
- Check for repairs. Fix any cracks, gaps, or unstable spots before moving forward. Skipping this step is the top cause of cracking later.
- Apply the primer. A bonding primer coats the surface and gives the microcement something to stick to.
- Apply the base coat. This first structural layer is spread with a trowel and builds up the surface thickness.
- Sand the base coat once dry. A light sanding pass smooths out any trowel marks before the next layer goes on.
- Apply the second coat. This thinner layer creates the final color and texture you will see every day.
- Sand again for smoothness. A final light sanding pass gives the surface an even, polished feel.
- Seal the surface. A waterproof sealer protects the finish from water, steam, and daily bathroom use.
Drying time between each step matters more than people expect. Rushing from one coat to the next is one of the most common reasons a finish turns out uneven. Our Topciment microcement installation guide covers timing in more detail.
Before you settle on a final color or texture, it helps to see finished examples. Our microcement bathroom ideas page shows real layouts across different bathroom sizes.
Applying Microcement Over Existing Tile
Yes, microcement can go directly over existing floor tiles or wall tile in most bathrooms, as long as the tile is stable and properly primed first. This skips the mess and cost of tile removal.
Loose or cracked tile should still be repaired before you start. Applying microcement over unstable tile is one of the fastest ways to end up with cracks in the new surface. Our microcement over tile installation guide explains exactly what to check before covering old tile.
Walls need a slightly different prep process than floors. If you’re covering a tiled shower wall, our wall prep guide walks through what that surface needs before the first coat goes on.
Common Mistakes During Application
The most common mistakes during microcement bathroom installation are rushing the drying time, skipping surface repairs, and applying the sealer unevenly.
- Rushing between coats – Every layer needs to dry fully before the next one goes on. Moving too fast leads to a soft or uneven finish.
- Skipping tile or drywall repairs – Any weak spot underneath will show through the microcement eventually.
- Uneven trowel technique – Inconsistent pressure while spreading the base coat can leave visible ridges once it dries.
- Applying too thick a coat – Thicker is not always better. Overly thick coats take longer to dry and can crack.
- Missing spots with the sealer – A gap in sealer coverage leaves that area open to water damage, even if the rest of the bathroom is protected.
Microcement belongs to a wider category of cement-based coatings used in modern construction. For general background on how these materials cure and bond, Wikipedia’s page on cement offers a helpful overview.
DIY vs. Hiring a General Contractor
A small accent area may work as a DIY microcement project, but a full bathroom remodeling project usually turns out better with a general contractor experienced in microcement.
Small, low-traffic surfaces, like a powder room accent wall, are more forgiving if the technique is not perfect. A shower floor or a walk in shower wall sees constant water and needs a more precise, professional-grade application.
If you’re planning a larger remodeling project rather than a single surface, our bathroom renovation guide covers how to plan the full scope before hiring anyone.
If your project includes a full bathroom renovation, hiring a contractor with real microcement experience reduces the risk of the common mistakes listed above. Our microcement bathroom design and cost guide covers what to expect from a professional installation across a full space.
Microcement Bathroom Cost Factors
Microcement bathroom cost depends on your square footage, the number of coats, the condition of your existing surface, and whether you hire a professional or do it yourself.
| Cost Factor | How It Affects Price |
| Bathroom size | Larger bathrooms need more material and labor time |
| Existing surface condition | Damaged tile or drywall adds repair costs before application |
| Number of coats | More coats for durability or deeper color raise the price |
| DIY vs. professional | Professional installation costs more but lowers the risk of redo work |
| Sealer quality | A stronger sealer for wet areas costs more than a basic indoor one |
For Dallas-specific pricing, our flooring cost guide for Dallas breaks down local numbers you can use for budgeting.
For a wider look at what drives microcement pricing across different rooms, our flooring cost and benefits guide covers the same factors outside the bathroom too.
Many homeowners also read about other people’s application experiences before starting. Forums like Quora’s home renovation section offer real feedback from people who have applied microcement themselves.
How to Choose the Right Approach for Your Bathroom
Choose based on your bathroom’s size, how much wet exposure the surface gets, and your comfort level with hands-on trowel work.
- Start with your floor plan. Know exactly which surfaces, like your bathroom floor or shower walls, you plan to cover.
- Match the sealer to the surface. Wet areas need a stronger waterproof sealer than dry accent walls.
- Decide on DIY vs. professional early. A small bathroom remodel may allow more DIY, while a master bathroom renovation often benefits from a pro.
- Budget for drying time. A rushed timeline usually leads to a lower-quality finish.
- Ask about local experience. A contractor familiar with Dallas humidity will know how it affects curing time for each coat.
Frequently Asked Questions
How long does it take to apply microcement in a bathroom?
A full bathroom microcement installation typically takes three to five days, including drying time between coats. Larger bathrooms or rooms needing surface repairs first can take longer.
Can you apply microcement over bathroom tile yourself?
Yes, in some cases, if the tile is stable and you follow each step carefully. Most homeowners still hire a professional for shower areas, since mistakes there are harder to fix and involve constant water exposure.
What tools do you need to apply microcement?
Applying microcement requires trowels for spreading each coat, sanding tools for smoothing between layers, a primer, and a sealer. Professional installers also use specific mixing tools to keep each batch consistent.
Do you need to remove old tile before applying microcement?
No, not always. Microcement can often go directly over stable, clean tile once it is properly primed. Loose or cracked tile should be repaired first to avoid cracking in the new surface.
How many coats of microcement does a bathroom need?
Most bathrooms need a base coat and a second finish coat, plus a sealer on top. Some projects add an extra coat for deeper color or added durability in high-traffic areas.
Is microcement application messy?
Microcement application involves some dust from sanding between coats, but a professional installer contains most of it with proper setup. DIY projects should plan for basic dust control and ventilation.
Conclusion
Applying microcement in a bathroom comes down to careful prep, patient drying time between coats, and proper sealing at the end. Whether you handle part of it yourself or hire a professional, following each step in order is what determines how the finish holds up.
If you’re planning your project, take a look at our guide on microcement bathroom durability or reach out to talk through your installation and budget.