
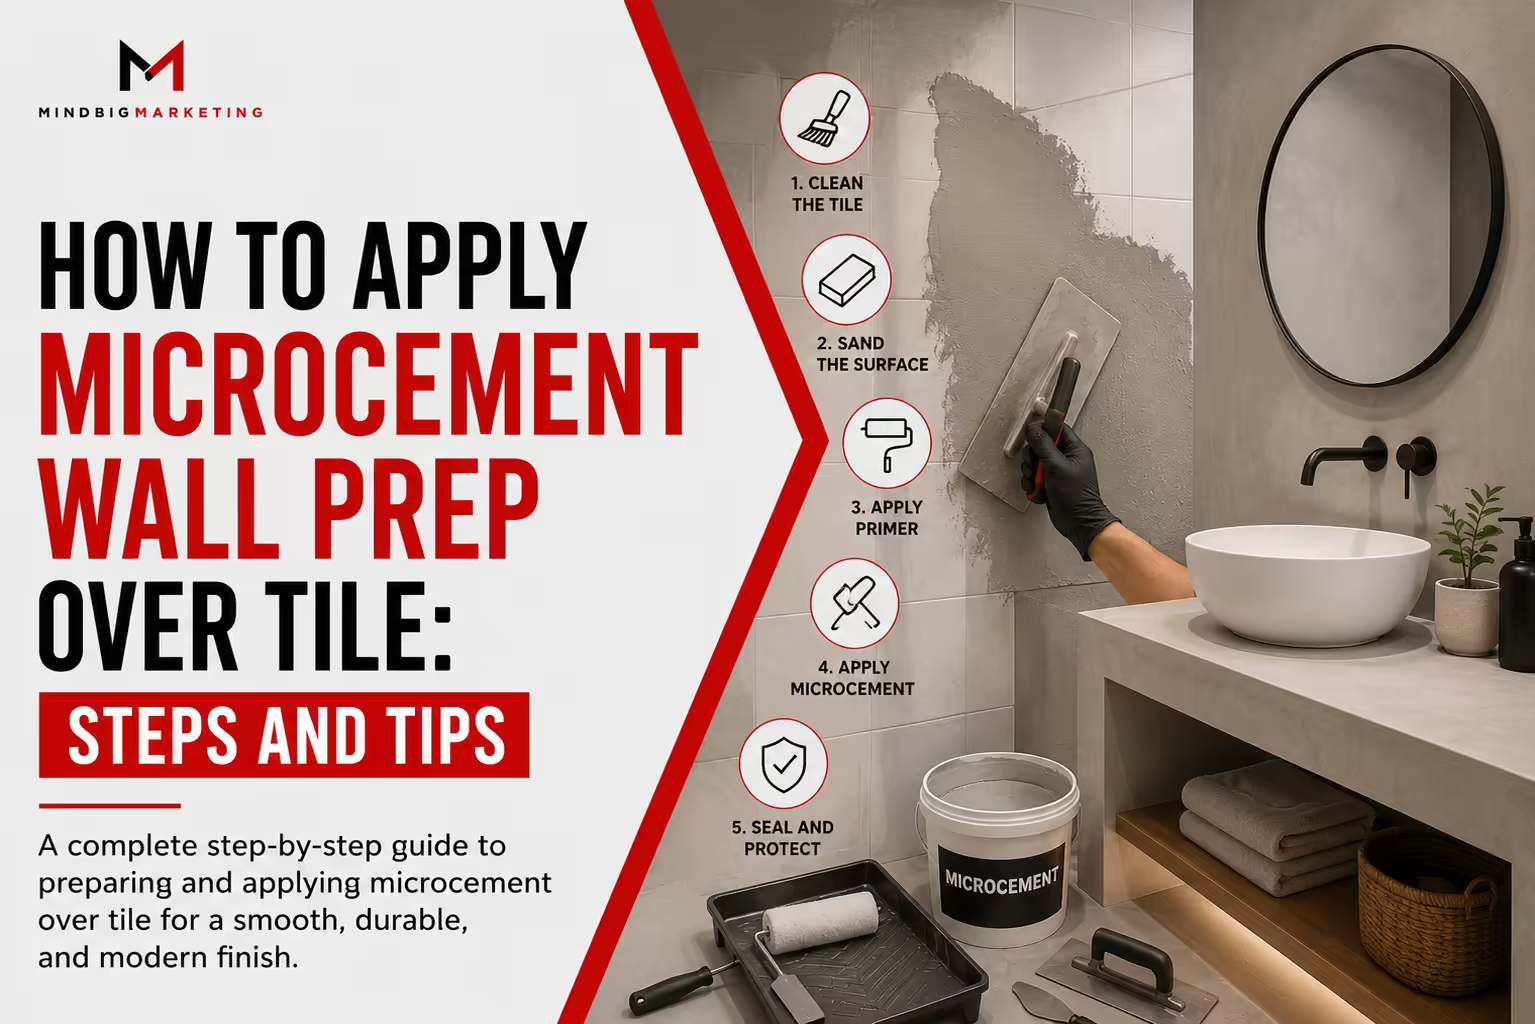
Microcement wall prep over tile requires cleaning the tile surface, applying a bonding primer, and reinforcing joints before the base coat goes on. Plano and Dallas homeowners often choose this approach to renovate bathrooms and walls without the mess and cost of tile removal. This guide from Microscement walks through the exact prep steps for 2026, so your microcement finish bonds properly and lasts for years.
What Is Microcement Wall Prep Over Tile?
Microcement wall prep over tile is the process of preparing an existing tiled wall so a cement-based decorative coating can bond directly to it. This includes cleaning, sanding or scuffing glossy surfaces, applying a bonding primer, and reinforcing grout lines and joints. You can see the full process explained on our what is microcement page, which covers the material itself before you get into wall-specific prep work.
Proper prep matters because microcement is thin, usually just a few millimeters thick. It does not fill gaps or hide surface problems the way a thicker material would, so the substrate underneath has to be sound before you start.
Why Does Wall Prep Over Tile Matter?
Wall prep matters because microcement will not bond properly to a dirty, glossy, or unstable tile surface, which leads to cracking or peeling later. Skipping prep steps is the single biggest reason microcement projects fail on tile walls.
Plano and Dallas bathrooms often deal with humidity swings between summer and winter, which puts extra stress on any coating applied over an existing surface. Proper primer and reinforcement steps account for this movement so the finish stays crack-free.
Renovating without removing tile also avoids the demolition mess and cost that traditional retiling requires. Our microcement over tile installation guide covers this comparison in more detail if you’re still deciding between resurfacing and full tile removal.
How Does Microcement Wall Prep Over Tile Work?
Microcement wall prep over tile follows five steps: cleaning, deglossing, priming, reinforcing, and applying the base coat. Microscement’s installers follow this exact sequence on every wall project in the Plano and Dallas area.
- Clean the tile: Remove soap scum, grease, and grime with a degreasing cleaner.
- Deglos the surface: Sand glossy tiles to create texture the primer can grip.
- Apply bonding primer: A specialized adhesion promoter coats the entire tile surface.
- Reinforce joints: Fiberglass mesh is embedded over grout lines to prevent cracking.
- Apply the base coat: The first cement layer builds the foundation for the finish coat.
Each layer needs proper curing time before the next step begins. Rushing this process is one of the most common reasons microcement fails to bond correctly over tile.
For a full walkthrough of every stage, from prep through the final sealed finish, see Microscement’s microcement guide, which covers application on both walls and floors.
Benefits of Microcement Wall Prep Over Tile
Proper wall prep lets you renovate tiled walls without demolition, saving time, cost, and mess compared to full tile removal. These benefits make microcement a popular choice for Plano and Dallas bathroom updates in 2026.
- No demolition, dust, or tile removal required
- A seamless, joint-free finish instead of visible grout lines
- Waterproof performance suitable for shower and wet room walls
- Faster renovation timeline than a full retiling project
- Custom color and texture options for a modern, minimalist look
Bathrooms are the most common place homeowners apply this system. Browse our microcement bathroom ideas for inspiration on finishes and colors that work well over existing tile walls.
Common Mistakes in Microcement Wall Prep Over Tile
The most common mistake is applying microcement directly over glossy tile without degreasing and sanding it first, which causes poor adhesion. Other frequent mistakes come from skipping steps to save time.
- Skipping the deglossing step on shiny, glazed tiles
- Using the wrong primer, or skipping primer entirely
- Not reinforcing grout lines with fiberglass mesh before the base coat
- Applying the finish coat before previous layers have fully cured
Understanding the material basics helps homeowners spot shortcuts before hiring a contractor. Wikipedia describes microcement-style coatings as thin, polymer-modified cement finishes designed to bond to existing surfaces, which is exactly why substrate prep cannot be skipped.
Another overlooked mistake is ignoring loose or cracked tiles before starting, since microcement will not hide movement happening underneath it.
Cost Factors for Microcement Wall Prep Over Tile
Microcement wall cost over tile depends mainly on surface condition, wall size, and how much reinforcement or repair the tile needs first. The table below outlines what typically affects pricing per square foot.
| Factor | Lower Cost Range | Higher Cost Range |
| Tile condition | Clean, stable, matte tile | Glossy, damaged, or loose tile |
| Wall size | Small accent wall | Full bathroom or multiple walls |
| Reinforcement needed | Minimal joint reinforcement | Full mesh reinforcement across tile |
| Finish type | Standard matte finish | Custom color or polished finish |
Bathroom and shower walls typically cost more per square foot than dry interior walls because of the extra waterproofing steps required.
How to Choose the Right Microcement Installer
Choose a microcement installer by checking experience with tile substrates specifically, asking about their prep process, and reviewing past project photos. This checklist helps Plano and Dallas homeowners compare installers before booking a project.
- Ask specifically about their process for prepping over existing tile
- Confirm they use fiberglass mesh reinforcement on grout lines
- Request photos of past tile-to-microcement wall projects
- Ask about warranty coverage on adhesion and cracking
Homeowners researching this renovation option often look for firsthand experiences before committing. Quora threads on home renovation often include honest feedback from people who applied microcement over tile themselves, which can highlight questions worth asking your installer.
Frequently Asked Questions
Can microcement be applied directly over wall tiles?
Yes, microcement can be applied over wall tiles once the surface is cleaned, degreased, and coated with a bonding primer. Skipping these prep steps is the main reason microcement fails to bond properly over tile.
Does microcement need primer over tile?
Yes, a bonding primer is required before applying microcement over tile because it creates the adhesion layer the cement coating needs. Without primer, the coating is much more likely to crack or peel over time.
Is microcement waterproof for shower walls?
Yes, when properly sealed with a waterproof topcoat, microcement performs well on shower and wet room walls. The sealing step is essential and should never be skipped in wet areas.
How thick is microcement applied over tile?
Microcement is typically applied in layers totaling just 2 to 3 millimeters thick, including primer, base coat, and finish coat. This thin profile is why the tile surface underneath needs to be clean and structurally sound.
How long does microcement last over tile?
Properly installed microcement over tile can last 10 to 15 years or longer with correct sealing and occasional maintenance. Lifespan depends heavily on how well the initial prep and priming steps were done.
Final Thoughts
Proper wall prep is the foundation of any successful microcement over tile project, from cleaning through primer and reinforcement. Microscement handles every step of this process for Plano and Dallas homeowners looking for a seamless, modern wall finish. Contact us today to start planning your microcement wall renovation.