
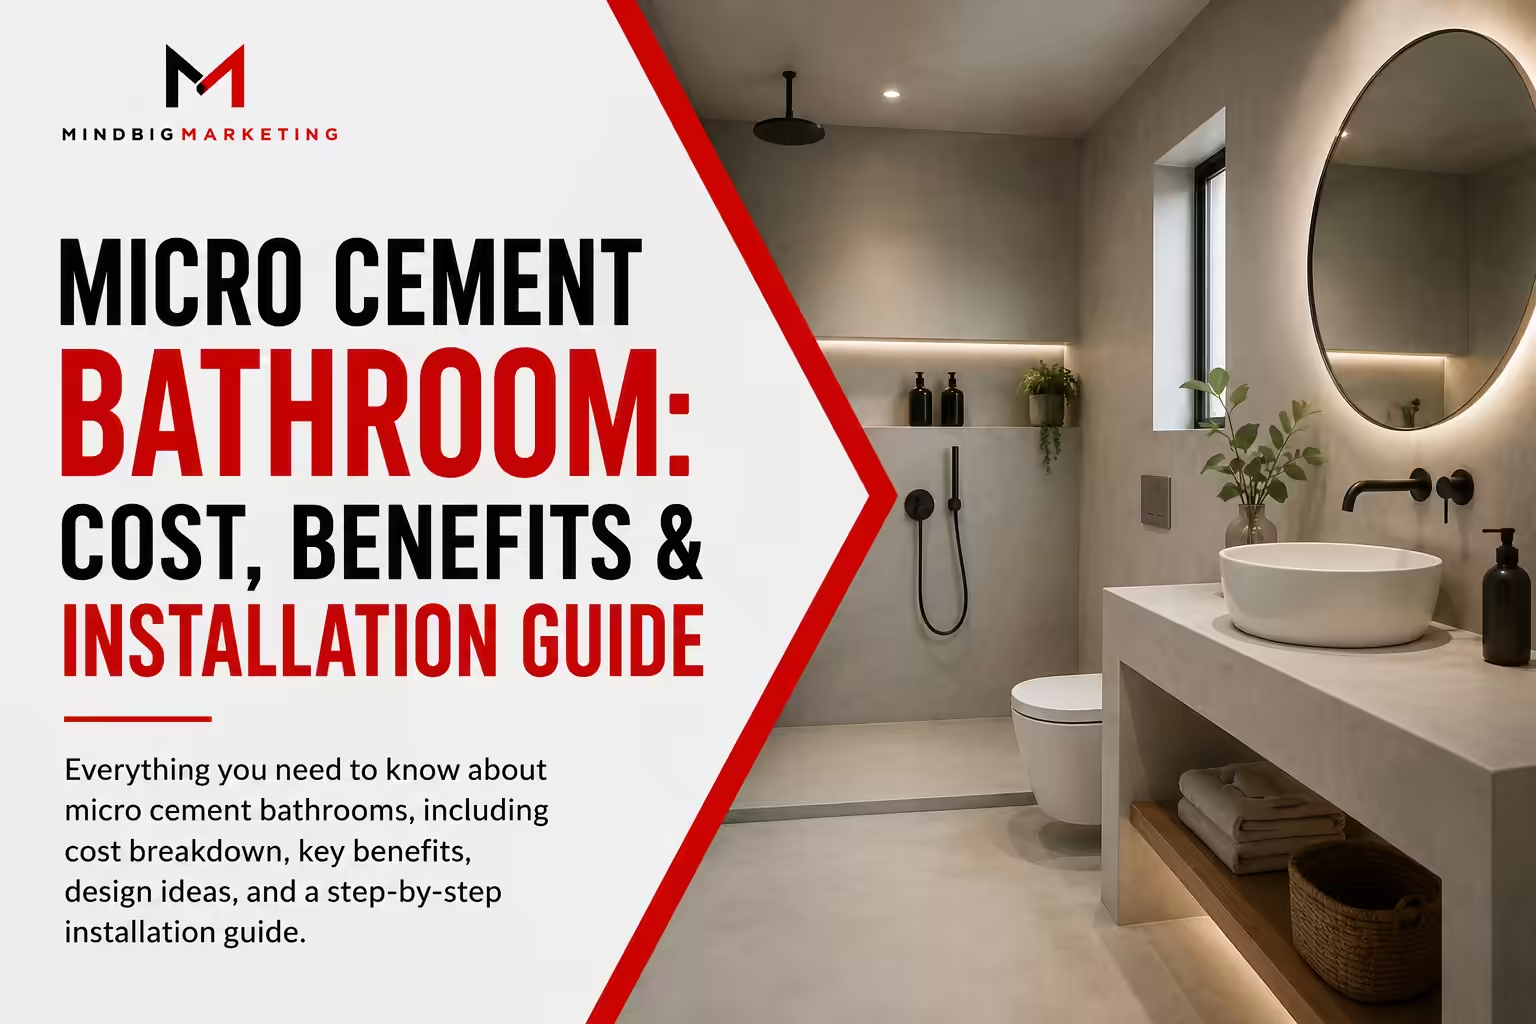
A micro cement bathroom uses a thin, seamless cement coating over walls, floors, and shower surfaces to remove grout lines and create one continuous, waterproof finish. Homeowners in Plano and across Dallas are choosing microcement in 2026 because it handles moisture better than tile, resists cracking, and gives a bathroom a clean, modern look without a full demolition. This guide covers what microcement actually is, how installation works, what it costs, and how to choose the right microcement system for your home.
What Is Microcement?
Microcement, also called micro cement or micro concrete, is a thin decorative coating made from cement, resins, and mineral pigments that creates a seamless surface on floors, walls, and furniture. It is applied in millimeter-thin layers rather than poured like traditional concrete, which is why it is also known as microtopping flooring or a microcement plaster system. You can see the full technical breakdown in Microscement’s what is microcement guide, which covers the exact composition used in residential projects across Texas.
Microcement is not the same product as raw poured concrete. It bonds directly onto existing tile, drywall, or a prepared subfloor, which is why it works well for a concrete bathroom renovation without removing the original surface.
Why Does Microcement Matter for Bathrooms and Floors?
Microcement matters because it solves the two biggest problems with tile: grout lines that trap mold, and cracked grout that lets water reach the subfloor. A seamless microcement floor or wall has no joints for water or bacteria to collect in, which makes it a strong option for a cement shower or a full concrete bathroom walls project. In Plano and Dallas homes, where bathroom humidity and temperature swings put extra stress on grout, this seamless design reduces long-term maintenance.
At Microscement, every installation uses a fully waterproof microcement system so the finished surface can handle daily shower use, not just light foot traffic.
How Does Microcement Installation Work?
Microcement installation follows a fixed multi-layer process: surface preparation, a bonding primer, two to three coats of microcement, and a protective sealer. Skipping any layer is the main reason DIY microcement kit projects fail early.
- Surface prep: The existing tile, drywall, or subfloor is cleaned and sanded for adhesion.
- Primer: A bonding primer locks the microcement to the surface below.
- Base coat: The first microcement layer builds the surface and evens out texture.
- Finish coat: A second, thinner layer creates the final microcement texture and color.
- Sealing: A microcement sealer waterproofs the surface and protects against stains.
One of the biggest advantages of this system is that it can go directly over existing surfaces. Microscement’s microcement over tile installation guide walks through exactly how a bathroom moves from dated tile to a seamless finish without full tile removal, and their microcement installation process page covers the certified application standards used on every project.
Benefits of Microcement Flooring and Walls
Microcement flooring and walls give homeowners a durable, waterproof, low-maintenance surface with a modern, seamless appearance that tile cannot match. These benefits apply to full bathroom renovations and single-wall accent projects alike.
- Seamless finish with no grout lines to clean or replace
- Fully waterproof microcement surface built for showers and wet areas
- Wide color range, from white microcement to a bold black microcement wall
- Works over existing tile, cutting demolition time and cost
- Long-lasting texture that resists chipping better than standard tile
Color and texture choice is one of the most common questions homeowners ask before starting a project. Microscement’s microcement bathroom ideas page shows real before-and-after examples in beige, white, and dark micro cement finishes, which helps homeowners picture the result before committing.
Common Mistakes to Avoid With Microcement
The most common mistake is treating microcement like a paint-on product instead of a layered plaster system that needs proper curing time between coats. This is especially true for homeowners trying a microcement kit bought online or from a home improvement store.
- Applying microcement over damp or unsealed drywall in a shower
- Skipping the primer coat to save time
- Rushing the sealer step before the base coat fully cures
- Assuming every microcement kit performs the same as a professionally installed system
Microcement is built on the same cement chemistry used in construction for centuries, and understanding that base material helps explain why proper curing time matters. Wikipedia offers useful background on how cement cures and bonds, which is the foundation of every microcement finish.
Another overlooked mistake is choosing a finish color without testing a sample on-site, since lighting changes how micro cement colors read in a real bathroom.
Microcement Cost Factors
Microcement bathroom cost depends mainly on surface area, number of coats, and whether the project goes over existing tile or a bare subfloor. The table below breaks down what typically drives microcement floor cost up or down.
| Factor | Lower Cost Range | Higher Cost Range |
| Surface prep | Smooth, ready subfloor | Full tile removal or repair |
| Application area | Single accent wall | Full bathroom floor and walls |
| Coats applied | Standard 2-3 coat system | Extra coats for high-traffic floors |
| Installer | DIY microcement kit | Certified professional installation |
Is microcement expensive compared to tile? Material cost per square foot is often similar to mid-range tile, but labor and prep work make professional installation cost more upfront. That upfront cost usually pays off through lower long-term maintenance, since there is no grout to reseal or replace.
How to Choose the Right Microcement Solution
Choose a microcement system by checking waterproof certification, color options, and whether the installer works with your existing surface, tile or bare subfloor. A short checklist makes comparing microcement providers easier.
- Confirm the system is rated fully waterproof for shower and floor use
- Ask whether the product can be applied directly over existing tile
- Review real before-and-after project photos, not just product samples
- Ask which sealer is used and how often it needs reapplication
- Compare a professional install against a DIY microcement kit for your project size
Homeowners comparing systems like Concretta, Concretta FS, Epodex microcement, or a poly microcement finish should ask installers directly how each product performs in wet, high-traffic areas. Microscement’s microcement guide compares these finish types side by side, along with a look at related surfaces like exposed aggregate concrete for outdoor and transition areas.
Frequently Asked Questions
Is microcement waterproof?
Yes, a properly installed and sealed microcement system is fully waterproof and suitable for shower walls and floors. The waterproofing comes from the sealer coat, so skipping or rushing that step can leave the surface vulnerable to moisture.
Can microcement go over existing tile?
Yes, microcement over tile is one of the most common installation methods because it avoids full demolition. The tile surface is cleaned, sanded, and primed so the microcement bonds directly on top, saving both time and cost compared to tile removal.
How much does a microcement bathroom cost?
Microcement bathroom cost varies by square footage, surface condition, and number of coats, with full bathrooms costing more than single accent walls. Getting a quote based on your specific bathroom size and current surface is the most accurate way to budget.
How long does microcement flooring last?
A properly sealed microcement floor can last 10 to 15 years or longer with normal use and periodic resealing. Resealing every few years protects the surface from stains and keeps the waterproof layer intact.
What colors are available for microcement bathrooms?
Microcement comes in a wide color range, from white and beige microcement bathroom finishes to darker tones like a black microcement wall. Custom color matching is also available for homeowners trying to match existing fixtures or design themes.
Final Thoughts
A micro cement bathroom gives Plano and Dallas homeowners a seamless, waterproof, low-maintenance surface that solves the grout and cracking problems common with tile. Microscement builds every project on proper surface prep, certified application, and a fully sealed finish designed for daily use. Request a quote today to find the right microcement solution for your bathroom, floor, or wall project.